 Save to Pinterest
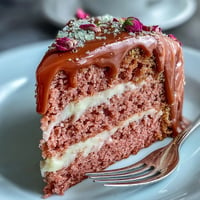
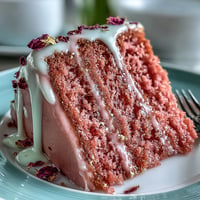
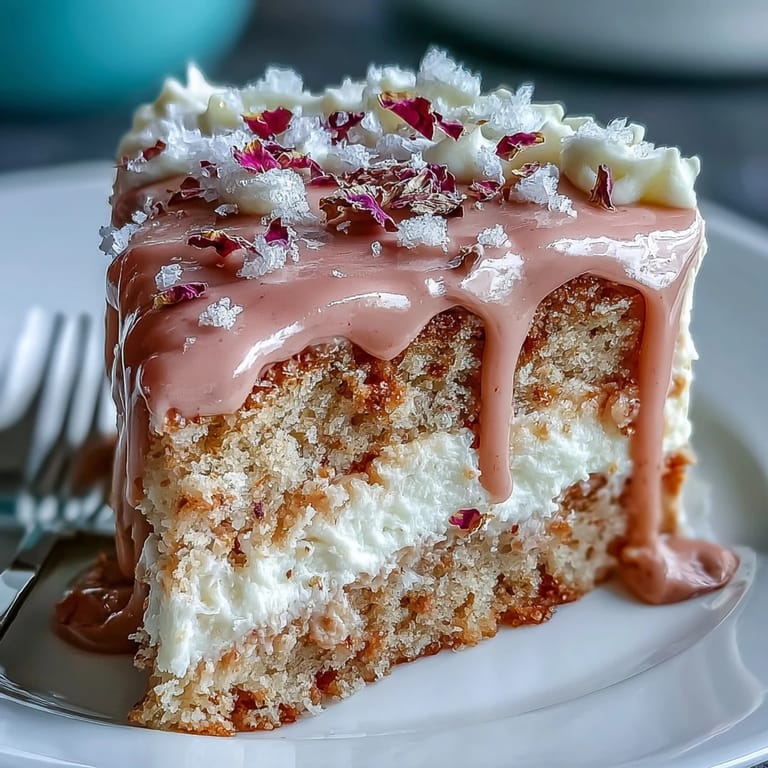
 The first time I tried rosé in a cake batter, the kitchen filled with a fragrance that surprised me—fruity, soft, and somehow celebratory. There was glitter spilling onto the counter, laughter echoing in the next room, and the unmistakable nervous excitement of preparing something a little bit fancy. Between the clink of measuring cups and the hum of the mixer, the gentle pink hue of the batter made even a rainy afternoon feel festive. This Bridal Shower Rosé Velvet Cake, with its shimmering gold drip, was born out of a desire to bring something both stunning and joyful to a friend’s gathering.
The first time I baked this cake for a bridal shower, I remember the groom-to-be nervously offering to lick the spatula, not realizing there was still gold luster dust on it. We all burst out laughing and the accidental gilded mustache became the hit of the day. That's what I love—there’s always a little bit of unexpected fun with a cake like this.
Ingredients
- All-purpose flour: Gives structure to the cake—be sure to sift it for that delicate crumb.
- Granulated sugar: Sweetens everything and helps create a soft, even texture in every slice.
- Baking soda: Provides lift; double-check the freshness for best rise.
- Fine salt: A pinch brings out the flavors and balances the sweet richness.
- Cocoa powder (unsweetened): Adds depth to the color and flavor—don’t skip even though it's a pink cake.
- Vegetable oil: Keeps the cake tender and moist, even if you make it a day ahead.
- Eggs (room temperature): Help the batter emulsify and the cake rise higher; I always crack them into a separate bowl just in case.
- Buttermilk (room temperature): For tenderness and a hint of tang—let it sit out before mixing for fluffier results.
- Rosé wine: Infuses the cake and the buttercream for that signature subtle, floral note—pick something dry but aromatic.
- Vanilla extract: Bridges the berry, floral, and creamy flavors together.
- White vinegar: Reacts with baking soda for extra lift—just a touch is enough.
- Pink or rose gel food coloring: Let’s you dial in your perfect pink—start with a toothpick for more control.
- Unsalted butter (room temperature): Essential for a fluffy, light buttercream—beat longer than you think for the dreamiest texture.
- Powdered sugar (sifted): For cloud-like frosting that’s never gritty—sift, sift, sift!
- Heavy cream: Melts with the chocolate chips for a smooth, easy gold drip.
- White chocolate chips: The base for the drip—a gentle melt gives the best flow.
- Edible gold luster dust: Brings the sparkle; verify it’s labeled edible (not just non-toxic).
- Vodka or clear lemon extract: Mixes with the luster dust for painting—evaporates quickly, leaving behind just the shine.
Tired of Takeout? 🥡
Get 10 meals you can make faster than delivery arrives. Seriously.
One email. No spam. Unsubscribe anytime.
Instructions
- Prep the pans:
- Brush your three cake pans with oil and line them with parchment—peeling the cool cakes from crisp paper later is a little thrill.
- Mix the dry ingredients:
- In a large bowl, sift flour, sugar, baking soda, salt, and cocoa powder—watch the cocoa create the faintest blush in the flour, a subtle hint of what’s coming.
- Combine the wet ingredients:
- Whisk oil, eggs, buttermilk, rosé, vanilla, and vinegar in another bowl until glossy and smooth—the rosy scent rises up with each stir.
- Make the batter pink:
- Pour the wet into the dry and mix just until combined, then swirl in the gel coloring bit by bit until you find the exact blush that makes you smile.
- Bake the layers:
- Divide evenly between pans and bake 30-35 minutes; you’ll know they’re ready when the kitchen smells sweet and a toothpick comes out (almost) clean.
- Cool completely:
- Let cakes rest 10 minutes, then flip onto racks—don’t rush this part or your layers might crack.
- Rosé buttercream time:
- Beat the butter until impossibly fluffy, dust yourself with powdered sugar snow, and pour in the rosé and vanilla; keep whipping for a creamy, ethereal finish.
- Assemble & crumb coat:
- Stack the cooled cakes with generous swathes of buttercream between each, then cover the whole cake in a thin ‘crumb coat’—chill briefly to set the stage for a flawless finish.
- Final frost:
- Spread on the last decadent layer of buttercream—rotate slowly and smooth with an offset spatula for that bakery look.
- Create the gold drip:
- Melt white chocolate chips and cream, let cool a moment, then drip gently around the cake’s rim—each drip feels like magic as it flows.
- Paint the gold:
- Mix luster dust with vodka or clear extract, then brush each drip with gold paint—watch it shimmer as it dries.
- Add decorations:
- Tuck extra gold accents, rose petals, or berries on top for that extra wow (and a nod to the party’s theme).
 Save to Pinterest
  Save to Pinterest
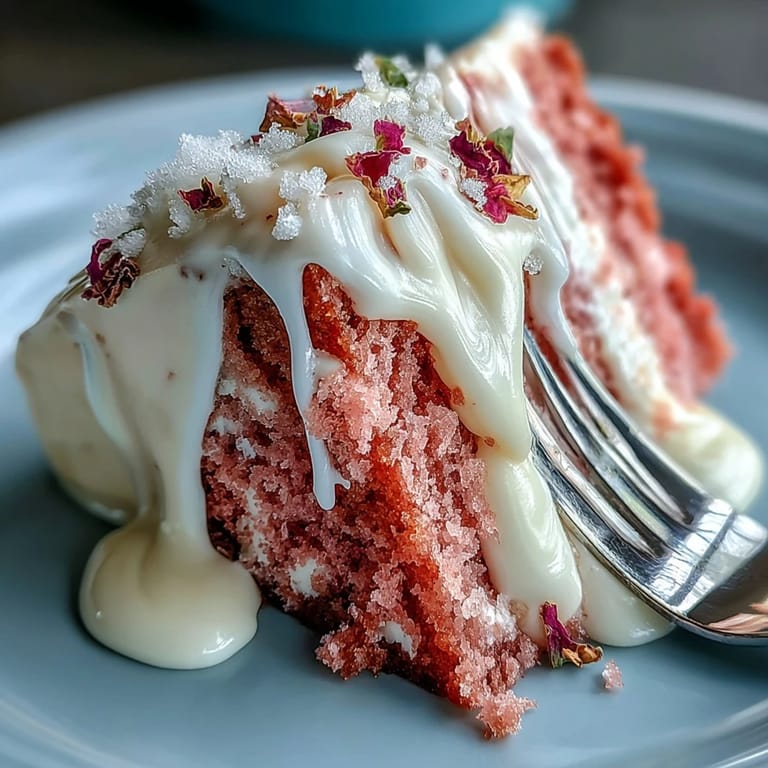
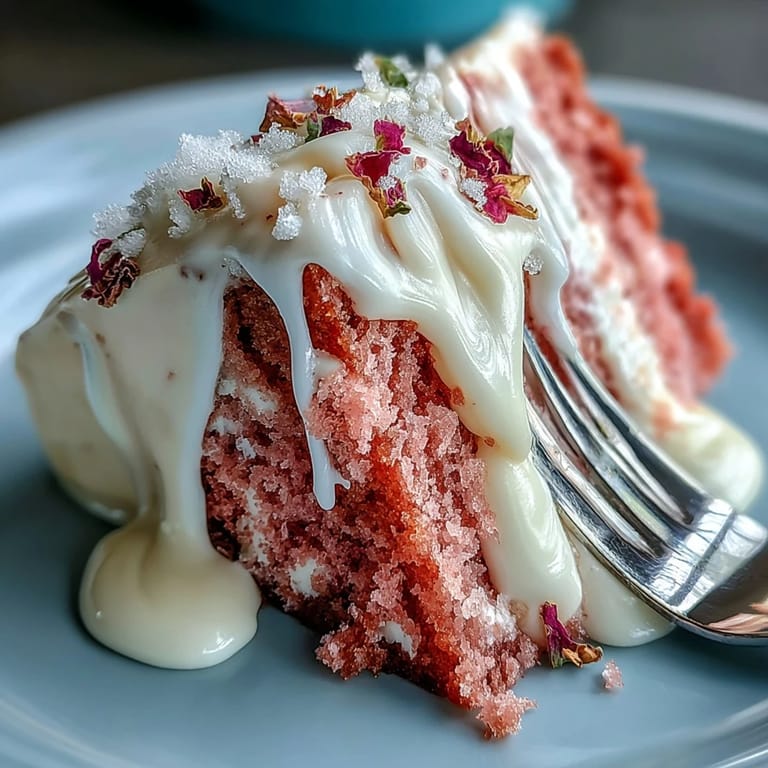
 The hug I got from my best friend after she saw the finished cake—gold, glowing, and utterly pink—reminded me just how joyfully food brings us together at life’s biggest moments. For a while, everyone lingered around the cake, not wanting to cut into it, as if that would prolong the celebration just a bit longer.
Choosing (and Using) Your Rosé Wisely
I learned that the style of rosé subtly shifts the cake’s vibe—a dry or sparkling rosé keeps things light and floral, while sweeter styles make the whole thing taste candy-like. Use whatever you’d happily sip and don’t be afraid to taste the batter (just a little) to check what’s coming through.
Decorating Tricks When Time Is Tight
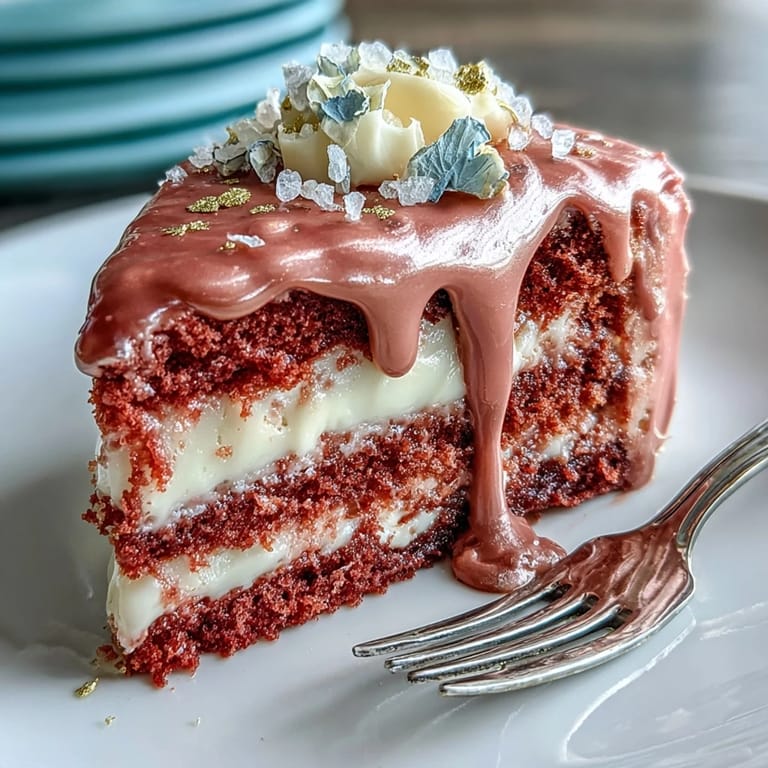
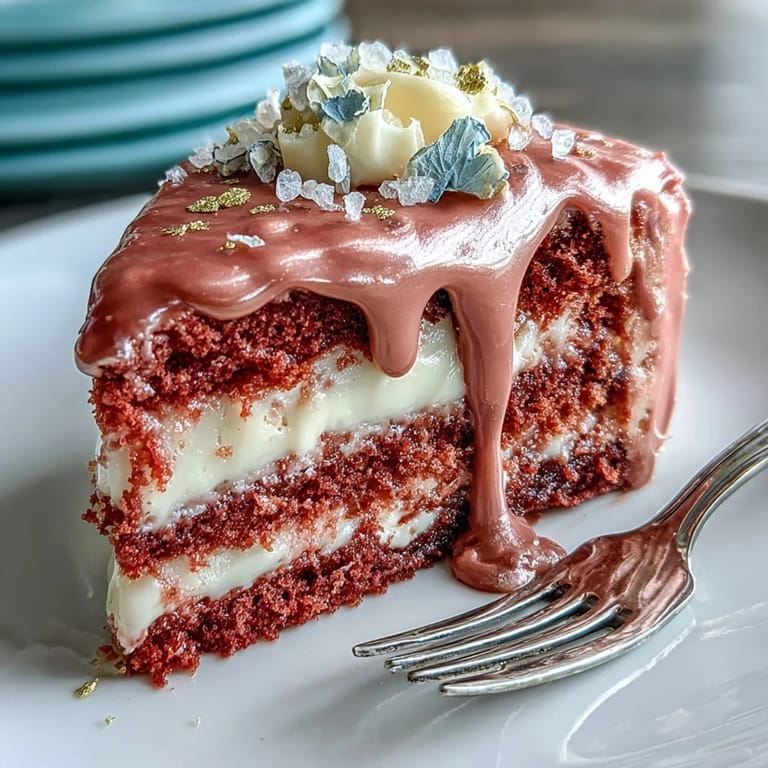
If you want high drama with minimum stress, try letting a few drips gather in uneven lengths—they look natural and won’t reveal any wobbles in your steady hand. Edible gold dust is forgiving, and a little mess makes the cake feel festive, not fussy.
Storing, Serving, and Making Ahead
Once decorated, I pop the whole cake into the fridge if it’s not being eaten right away—just set it out for an hour to come to room temperature for peak softness. Buttercream can be made ahead and whipped back to life with a quick beat.
- Store leftovers covered to keep them moist.
- If serving outside, keep the cake out of the sun so the gold drip stays perfect.
- Cut gently with a hot, dry knife for tidy slices that do your work justice.
 Save to Pinterest
  Save to Pinterest
 This cake captures the heart of a celebration: a little bit fancy, a whole lot of fun, and a memory shared long after the last slice disappears. Share it with people you love and let each sparkling bite be part of the party.
Recipe FAQs
- → Can I use sparkling rosé instead of still rosé?
Yes. Sparkling rosé adds a brighter, lively note; reduce the amount slightly and taste as you go to keep buttercream consistency. Allow carbonation to dissipate before folding into icings.
- → How do I get even cake layers?
Weigh or divide batter evenly among three 8-inch pans and tap pans on the counter to remove air pockets. Level with a serrated knife after cooling for uniform stacking.
- → What's the best way to make a smooth buttercream finish?
Apply a thin crumb coat and chill 15–30 minutes. Use an offset spatula and a bench scraper while turning the cake to smooth the final layer, then chill again before decorating.
- → How do I ensure the gold drip is food-safe and glossy?
Use edible gold luster dust mixed with vodka or clear lemon extract to paint over a cooled white chocolate drip. Choose food-grade luster dust and test a small area first for sheen.
- → Can this be made ahead of time?
Yes. Bake layers a day ahead and wrap tightly. Assemble and chill overnight; bring to room temperature before serving for best texture and flavor.
- → Any tips for adjusting sweetness and texture?
Balance sweetness by tasting buttercream as you add rosé; add more wine to loosen or extra sifted sugar to thicken. Use room-temperature butter for a silky whip and beat until light.