 Save to Pinterest
 There's something about sheet cakes that makes celebrations feel real. My cousin texted me three weeks before her graduation asking if I could bake something that could feed a crowd, and without thinking twice, I said yes. I'd made vanilla cakes before, but never for an occasion that mattered quite this much—and that's when I realized the best recipes aren't about technique, they're about showing up for people.
I'll never forget pulling this cake out of the oven at her graduation party. The kitchen smelled like vanilla and butter, and her little brother wandered in asking if he could have a piece before anyone else got one. By the end of the night, only crumbs were left, and someone's mom asked for the recipe—that's when I knew it was the right choice.
Ingredients
- All-purpose flour (3 cups): Make sure it's fresh and scooped correctly—I learned the hard way that packing flour into a measuring cup can throw off your whole cake.
- Baking powder and baking soda (2½ tsp and ½ tsp): These two work together to give you that tender, cloud-like crumb that makes people ask if it's homemade.
- Salt (½ tsp): Don't skip this; it brightens the vanilla flavor in ways you won't expect until you taste it.
- Unsalted butter (1 cup for cake, 1 cup for frosting): Room temperature is non-negotiable here—cold butter won't cream properly and you'll end up with a dense cake.
- Granulated sugar (2 cups): This sweetens the cake while the creaming process incorporates air, giving you lift without extra leavening.
- Large eggs (4): Also bring these to room temperature; they emulsify better and help create structure in the batter.
- Vanilla extract (1 tbsp for cake, 2 tsp for frosting): This is the star ingredient—use real vanilla if you can because it makes a noticeable difference in flavor.
- Whole milk (1½ cups for cake, ¼ cup for frosting): Room temperature milk blends smoothly into your batter and frosting without shocking the mixture.
- Powdered sugar (4 cups, sifted): Sift it before measuring to avoid lumps that'll texture your otherwise smooth frosting.
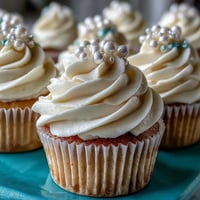
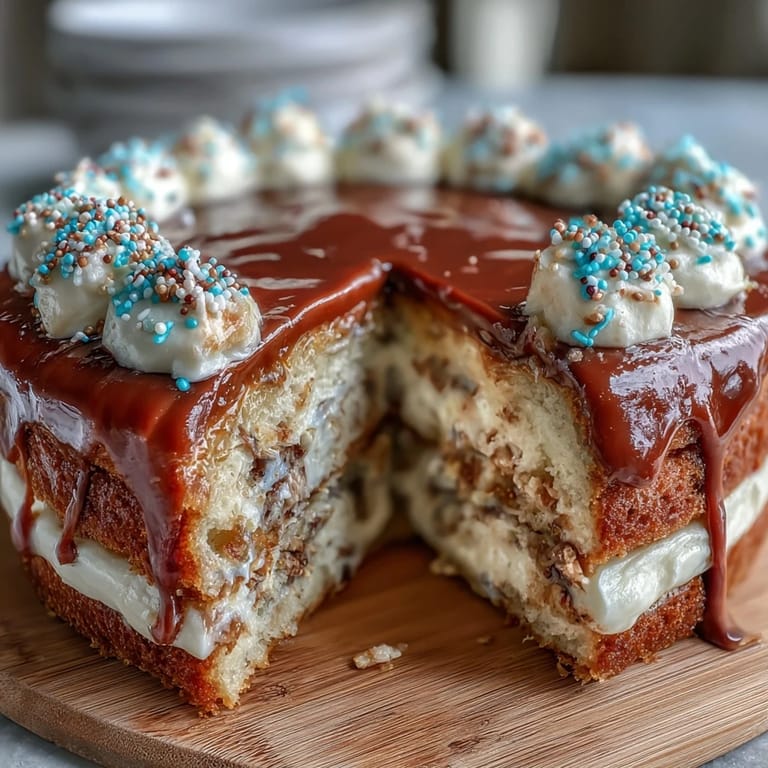
- Graduation-themed decorations: Sprinkles, edible pearls, or gel food coloring in school colors turn a simple cake into a celebration.
Tired of Takeout? 🥡
Get 10 meals you can make faster than delivery arrives. Seriously.
One email. No spam. Unsubscribe anytime.
Instructions
- Prep your pan and heat your oven:
- Set your oven to 350°F and while it's warming, grease a 12x18-inch sheet pan generously, then line it with parchment paper. This double-insurance method means your cake will slide right out without sticking.
- Combine your dry ingredients:
- Whisk flour, baking powder, baking soda, and salt in a medium bowl—this distributes the leavening evenly throughout so you get even rise. Set it aside and let that mixture rest while you work on the wet ingredients.
- Cream butter and sugar until fluffy:
- In a large bowl with an electric mixer, beat butter and sugar together for about 3 minutes until it's pale and light. You'll know it's ready when it looks almost like whipped frosting and the texture transforms completely.
- Add eggs one at a time:
- Crack each egg into the butter mixture, beat well after each addition, then add the next one. This gradual method helps the eggs emulsify into the fat, creating a tender crumb and stable batter.
- Stir in vanilla:
- Mix in 1 tablespoon of vanilla extract and let it distribute throughout. You'll notice the batter smells noticeably more like cake now.
- Alternate dry ingredients and milk:
- Add half the flour mixture, mix on low speed just until combined, then pour in half the milk and mix gently again. Repeat with the remaining flour and milk, being careful not to overmix—you want the batter combined but not worked to death or it'll toughen up.
- Pour and spread:
- Transfer the batter into your prepared pan and smooth it evenly with a spatula. This ensures even baking from edge to center.
- Bake until golden:
- Bake for 28–32 minutes, checking with a toothpick inserted in the center—it should come out clean or with just a few moist crumbs. The cake should smell buttery and the edges should pull slightly away from the pan.
- Cool completely:
- Leave the cake in the pan on a wire rack until it's completely cool—this takes about an hour. Frosting a warm cake will cause the frosting to slide off and melt, so patience here matters.
- Make the buttercream:
- In a clean bowl, beat room-temperature butter for 2 minutes until creamy and pale. Gradually add sifted powdered sugar while the mixer runs on low, then pour in vanilla, milk, and a pinch of salt, beating on high for 2–3 minutes until the frosting is fluffy and spreadable.
- Add color if you like:
- If you want school colors, add gel food coloring a tiny bit at a time—gel is more concentrated than liquid so you need less of it. Mix until the color is even throughout.
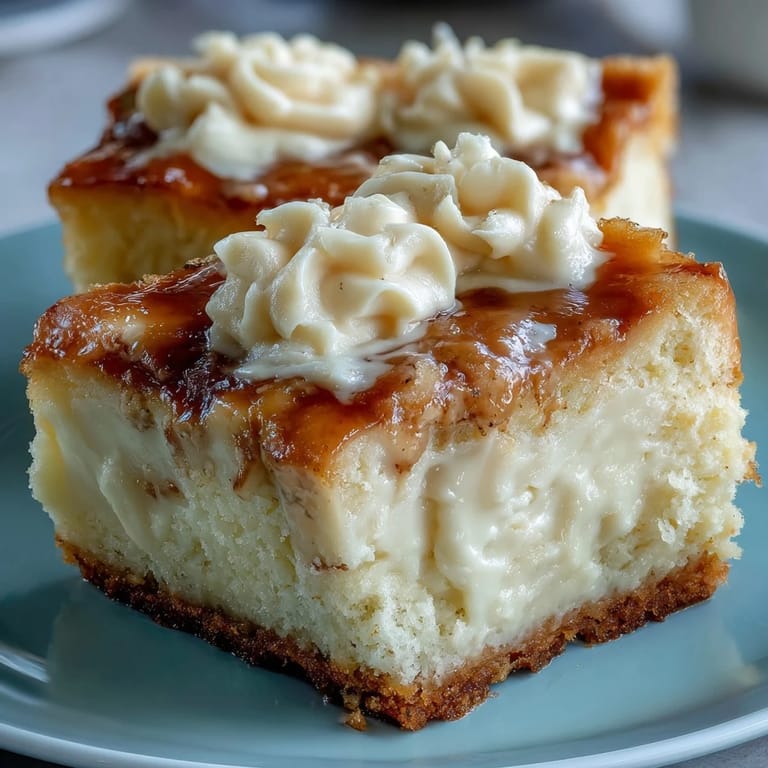
- Frost and decorate:
- Spread buttercream evenly over the cooled cake with an offset spatula or the back of a spoon. Top with graduation-themed sprinkles, edible pearls, or piped messages in coordinating colors.
- Slice and celebrate:
- Cut into 24 pieces and serve at room temperature for the best flavor and texture.
 Save to Pinterest
 After the graduation party ended and everyone had left with full stomachs and smiling faces, my cousin texted me a photo of the empty cake plate. She said it was the best part of her day not because the cake was perfect, but because it gave people a reason to gather and celebrate with her.
Why Room Temperature Ingredients Really Matter
I didn't understand this until I made the same cake twice—once with cold eggs and cold milk, and once with everything warmed up. The second cake was noticeably lighter and more tender, and the frosting mixed in smoother without little lumps of cold butter fighting the process. When ingredients are the same temperature, they blend into a unified batter rather than fighting each other.
The Secret to Smooth Buttercream
Lumpy frosting happens when powdered sugar gets added too quickly or when your butter wasn't creamy enough to start with. The trick is to beat butter solo for a full two minutes before you even think about adding sugar, then add the sugar slowly while the mixer runs on low speed. Once it looks incorporated, crank it to high speed and beat for another few minutes—this whips air into the frosting and makes it fluffy instead of dense.
Making This Cake Your Own
The vanilla base is forgiving enough that you can customize it without starting over. Some people add ½ teaspoon of almond extract to the batter for subtle depth, while others swap the vanilla frosting for cream cheese buttercream or a light lemon glaze. You can also write names or dates on top with a piping bag filled with frosting, or press edible pearls and sprinkles into the frosting before it sets so they stick.
- For a gluten-free version, swap the all-purpose flour for a 1:1 gluten-free baking blend and bake for the same time.
- Store leftover cake covered at room temperature for 1 day, or refrigerate for up to 4 days—the frosting holds up better when chilled.
- You can bake the cake 1 day ahead and store it unfrosted, then frost it the morning of your event so everything feels fresh.
 Save to Pinterest
 This cake has a way of turning ordinary afternoons into something memorable. Whether it's a graduation, a birthday, or just a Sunday when you want to feed people something that tastes like celebration, it delivers.
Recipe FAQs
- → What causes the cake to be moist and fluffy?
The combination of butter, eggs, and milk creates a tender crumb while the baking powder and soda help the cake rise evenly.
- → How can I add extra flavor to the cake?
Incorporate ½ teaspoon of almond extract into the batter for a subtle nutty enhancement.
- → Can this be made gluten-free?
Yes, substitute all-purpose flour with a 1:1 gluten-free baking blend to maintain texture and structure.
- → How should I store leftovers?
Keep the cake covered at room temperature for up to one day or refrigerate for up to four days to preserve freshness.
- → What tools are recommended for decorating the cake?
Use piping bags for decorative writing or borders and add food coloring to the buttercream if desired for better visuals.