 Save to Pinterest
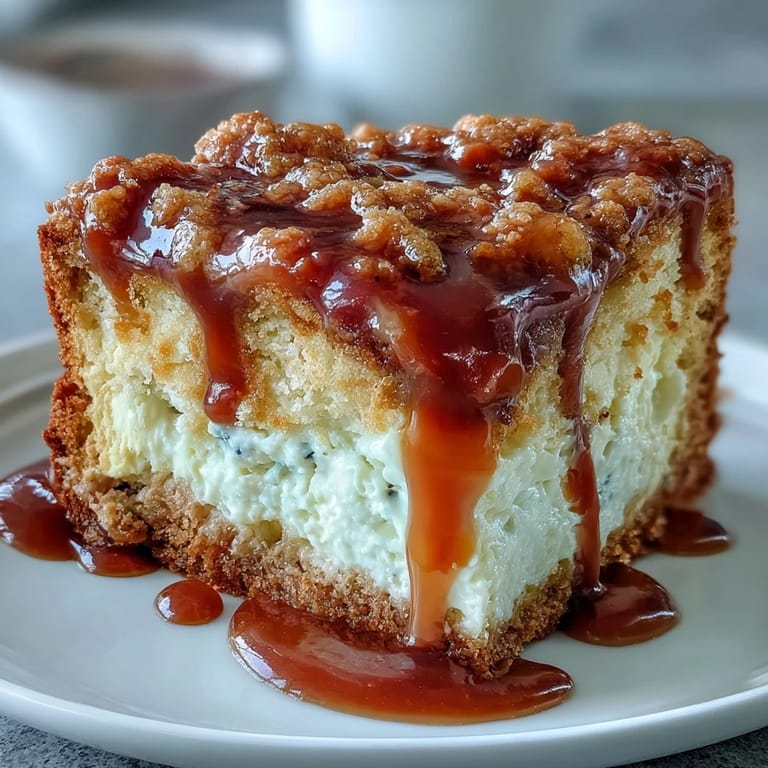
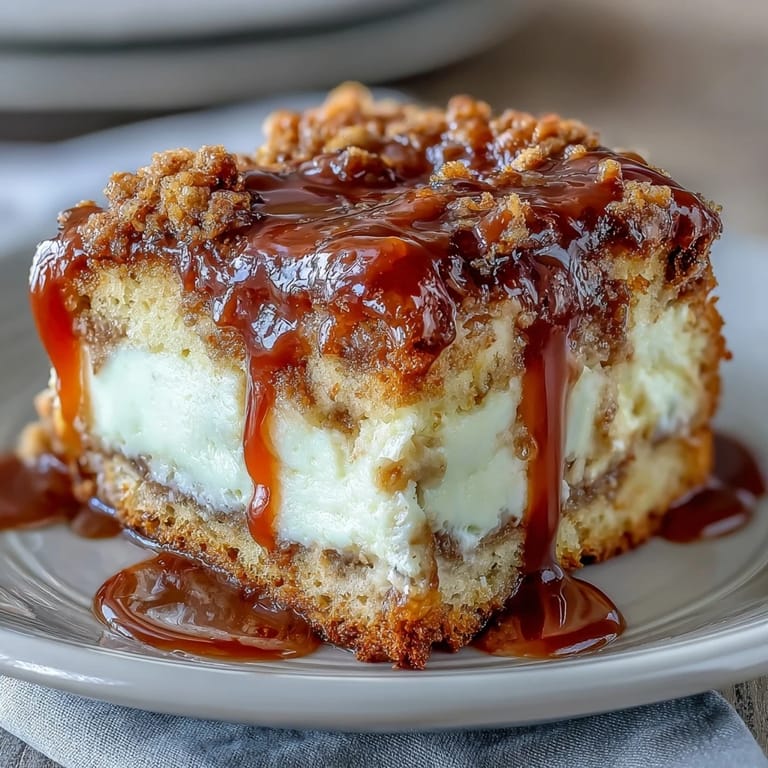
 The kitchen smelled like burnt sugar before I even realized I'd left the caramel on too long. I was trying to impress my sister-in-law, who always brought perfect desserts to family gatherings, and here I was, frantically whisking a bubbling mess. That's when I learned store-bought caramel works just fine. This bread became my redemption: moist, sweet, and marbled with cream cheese that tastes like cheesecake hiding inside. No one ever asked if I made the caramel from scratch again.
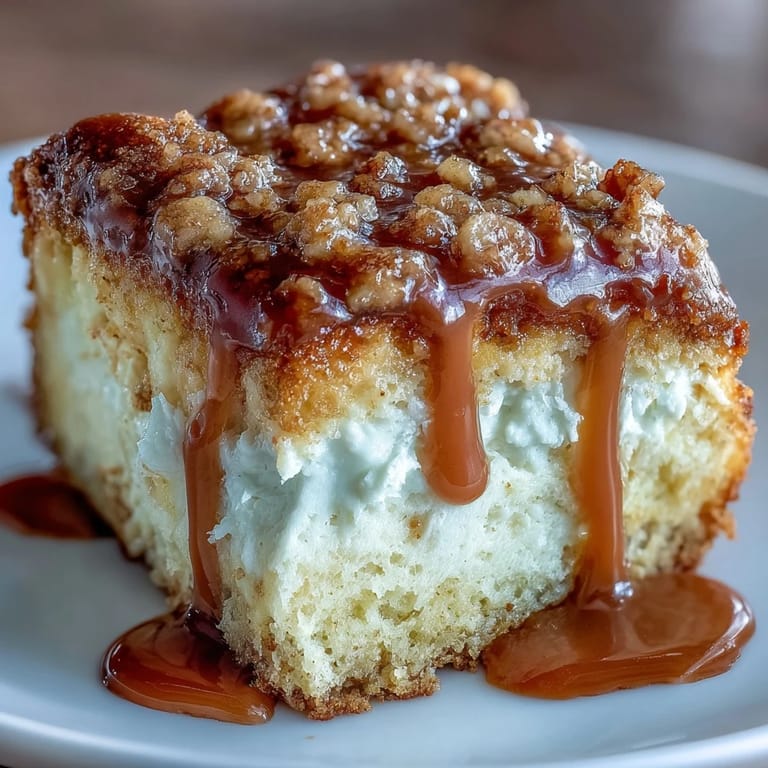
I brought this to a brunch once, sliced thick and fanned out on a wooden board. My friend Kate took one bite and asked if I'd opened a bakery overnight. The caramel swirl catches the light just right, and that cream cheese center makes people pause mid-sentence. It's the kind of bread that starts conversations and ends with recipe requests scribbled on napkins.
Ingredients
- Light brown sugar: Packed tight into the measuring cup, this gives the bread its deep caramel flavor and keeps it incredibly moist for days.
- All purpose flour: The backbone of the batter, don't sift it unless you enjoy extra dishes, just spoon and level.
- Baking powder: Fresh baking powder is crucial here, if it's been sitting in your pantry since 2019, toss it and get new.
- Salt: Just enough to balance the sweetness without making the bread taste flat.
- Eggs: Room temperature eggs blend faster and create a smoother batter, I learned this after too many lumpy loaves.
- Milk: Whole milk makes it richer, but I've used 2% and even oat milk when that's all I had, it still works.
- Vegetable oil: Keeps the crumb tender and moist, melted butter makes it denser but tastes amazing if you prefer that.
- Cream cheese: Must be softened or you'll have chunks, leave it on the counter for an hour or microwave it in short bursts.
- White granulated sugar: Sweetens the cream cheese filling and helps it hold its shape during baking.
- Caramel sauce: Store bought is your friend, I use the squeeze bottle kind and it drizzles perfectly every time.
Tired of Takeout? 🥡
Get 10 meals you can make faster than delivery arrives. Seriously.
One email. No spam. Unsubscribe anytime.
Instructions
- Prep your pans:
- Grease those loaf pans generously with butter or non-stick spray, getting into the corners. I also line the bottom with parchment for foolproof release.
- Mix the dry base:
- Whisk the brown sugar, flour, baking powder, and salt until the sugar breaks up and everything looks evenly tan. This step prevents flour pockets that taste chalky.
- Combine the wet ingredients:
- Beat the eggs, milk, and oil together until they look unified and slightly frothy. A stand mixer makes this effortless, but a whisk and some elbow grease works too.
- Bring it together:
- Pour the dry mixture into the wet gradually, stirring just until no white streaks remain. Overmixing makes the bread tough and dense, so stop as soon as it's combined.
- Layer the first half:
- Divide half the batter between your two pans, spreading it gently to the edges. It should fill each pan about one third of the way up.
- Make the cream cheese swirl:
- Beat the softened cream cheese, granulated sugar, and egg until completely smooth with no lumps. This filling is what makes people think you're a baking genius.
- Add the cheesecake center:
- Spoon the cream cheese mixture in a thick line down the center of each pan, avoiding the edges. It will spread slightly as it bakes, creating that perfect ribbon.
- Cover and seal:
- Top with the remaining batter, spreading carefully so you don't disturb the cream cheese layer underneath. It doesn't need to be perfect, just mostly covered.
- Swirl the caramel:
- Drizzle a stripe of caramel sauce over each loaf, then drag a knife through it in a gentle zigzag. Two or three swirls is enough, more than that and it disappears into the batter.
- Bake until golden:
- Slide the pans into your preheated oven and bake for 50 minutes, the tops should be deeply golden and spring back when touched. A toothpick will come out with a few moist crumbs and maybe some cream cheese, that's exactly right.
- Cool and release:
- Let the loaves rest in their pans for 10 minutes to firm up, then turn them out onto a wire rack. Cutting into warm bread is tempting, but waiting until they cool gives you clean slices.
 Save to Pinterest
 My neighbor once knocked on my door following the smell of this bread baking. She stood on my porch holding an empty mug, asking if I had any coffee to go with whatever was making her entire house smell like a bakery. We ended up sitting on my front steps, splitting a warm slice while it was still too hot to handle. That's when I realized this bread doesn't just feed people, it gathers them.
How to Store and Reheat
Wrap cooled loaves tightly in plastic wrap or store slices in an airtight container at room temperature for up to three days. The cream cheese filling stays soft and the caramel doesn't harden, so every slice tastes fresh. For longer storage, wrap each loaf in plastic then foil and freeze for up to three months. I like to slice one loaf before freezing so I can grab individual pieces for quick breakfasts.
Serving Suggestions
This bread shines on its own, but a schmear of salted butter takes it over the top. I've served it as dessert with vanilla ice cream melting into the warm caramel swirl, and as breakfast with strong black coffee. Toasting a slice brings the caramel back to life, making it gooey and fragrant. My favorite way is still straight from the cooling rack, torn into pieces with my hands while it's barely cool enough to touch.
Variations and Swaps
Swap the caramel for chocolate ganache or raspberry jam if you want a different flavor profile. I've added chopped pecans to the batter for crunch, and once folded in mini chocolate chips that melted into pockets of fudge. Dairy-free milk and vegan cream cheese work if you need to accommodate allergies, though the texture is slightly less rich. For a maple version, replace the caramel with pure maple syrup and add a pinch of cinnamon to the dry ingredients.
- Mini loaf pans make perfect gifts, just reduce the baking time to 40 minutes and check with a toothpick.
- Turn this into muffins by filling cups two thirds full and baking for 18 to 20 minutes.
- A simple powdered sugar glaze drizzled over the cooled loaves adds extra sweetness and makes them look bakery polished.
 Save to Pinterest
 This bread has become the thing I make when I need to feel like I have my life together, even when I don't. It's forgiving, impressive, and fills the house with the kind of smell that makes everything feel okay for a little while.
Recipe FAQs
- → Can I use homemade caramel sauce instead of store-bought?
Yes, homemade caramel sauce works beautifully. Just ensure it has cooled to room temperature before drizzling over the batter. If it's too warm, it may sink too deeply into the bread during baking.
- → How do I know when the bread is fully baked?
Insert a toothpick into the center—it should come out mostly clean. A small amount of cream cheese residue is acceptable, but wet batter indicates more baking time is needed. The tops should be golden brown and spring back lightly when touched.
- → Can I freeze this bread?
Absolutely. Wrap cooled loaves tightly in plastic wrap, then foil. Freeze for up to 3 months. Thaw overnight at room temperature before serving. Individual slices can also be frozen and reheated in the microwave.
- → What if I don't have two loaf pans?
You can bake one large loaf in a 9x5 inch pan, though the baking time will increase to 60-70 minutes. Alternatively, use this batter for 12 standard muffins (bake 20-25 minutes) or 6 mini loaves (bake 40 minutes).
- → Can I reduce the sugar in this recipe?
You can reduce the brown sugar in the batter to 1½ cups, though this may affect the moisture level and texture. For the cream cheese filling, the sugar helps stabilize the mixture, so reducing it below 2 tablespoons is not recommended.
- → Why is there still some cream cheese on my toothpick?
This is normal! The cream cheese filling remains slightly soft and creamy even after baking. As long as the bread batter portion of the toothpick comes out clean and the loaves are golden, your bread is done.