 Save to Pinterest
 The timer on my phone startled me awake at 11 p.m., and I realized I'd forgotten dessert for the dinner party that started in nine hours. I rifled through the pantry, found chocolate and espresso powder, and decided to risk it. What came out of the oven that next evening—molten, rich, and impossibly simple—became the dessert I've made more times than I can count. Sometimes panic in the kitchen leads to the best discoveries.
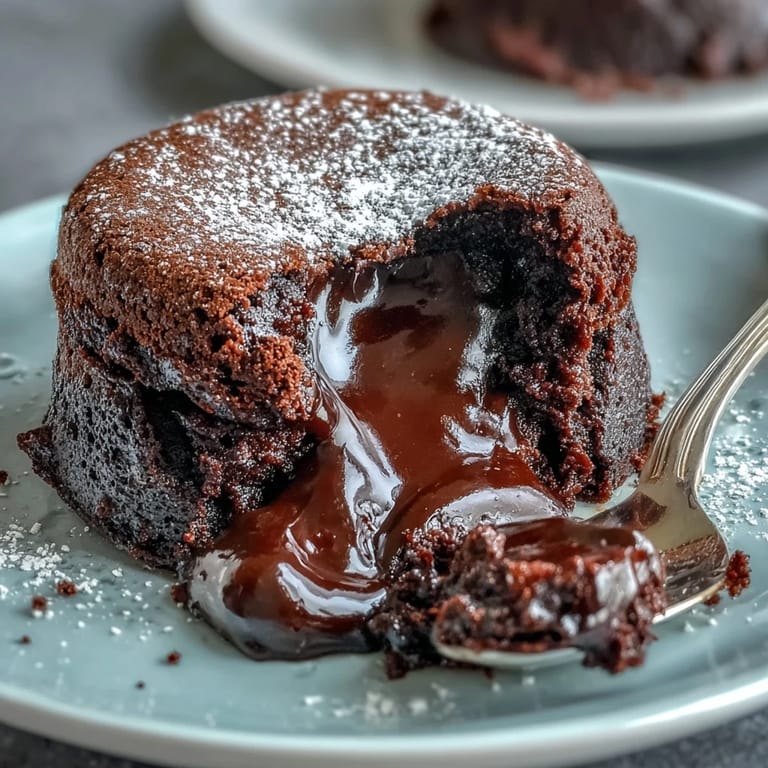
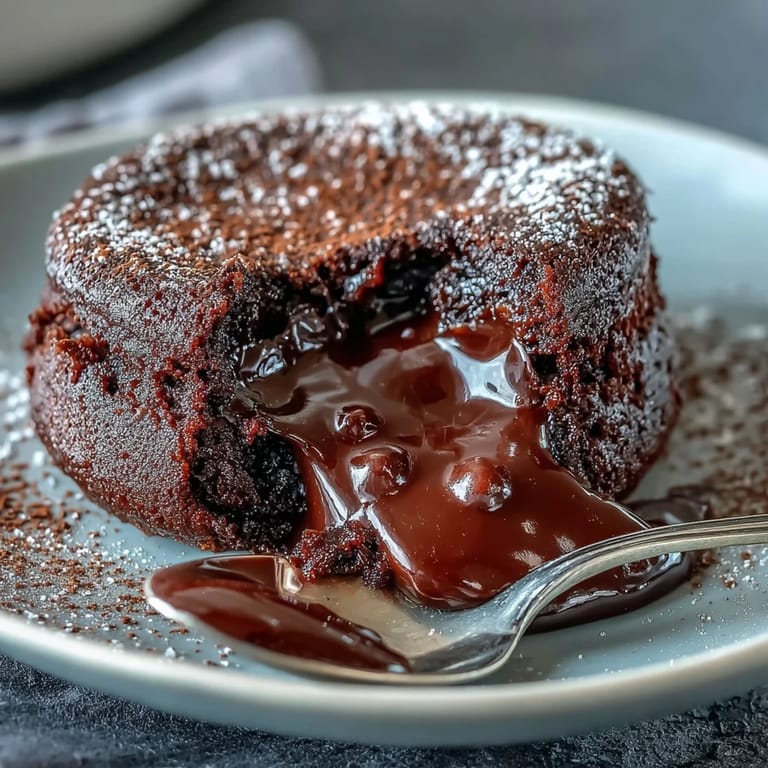
I made these for my brother's birthday once, and when he cut into his cake, the chocolate oozed out onto the plate. He looked up, speechless, then asked if I'd opened a restaurant without telling him. It became our tradition—every birthday, someone requests the lava cakes. They're small enough to feel special, indulgent enough to feel like celebration, and simple enough that I never dread making them.
Ingredients
- Bittersweet or semisweet chocolate (115 g): The backbone of the cake, so use chocolate you'd actually enjoy eating on its own—cheap chocolate makes a flat, dull cake.
- Unsalted butter (115 g plus extra): Adds richness and helps create that glossy molten center; don't skip greasing the ramekins generously or you'll be scraping cake off the sides.
- Eggs (2 large) and egg yolks (2 large): The extra yolks make the center custardy and luscious instead of cakey, which is the whole point of lava cakes.
- Granulated sugar (100 g): Just enough to sweeten without overpowering the chocolate; whisk it well with the eggs until the mixture is pale and thick.
- All-purpose flour (30 g): A small amount gives structure without turning the cakes dense; sift it to avoid lumps.
- Instant espresso powder (1 tsp): This is the secret—it doesn't make the cakes taste like coffee, it just makes the chocolate taste more like itself.
- Pure vanilla extract (1 tsp): Rounds out the flavors and adds warmth, especially when combined with the espresso.
- Pinch of salt: Balances the sweetness and makes the chocolate pop; never skip salt in chocolate desserts.
Tired of Takeout? 🥡
Get 10 meals you can make faster than delivery arrives. Seriously.
One email. No spam. Unsubscribe anytime.
Instructions
- Prep the Ramekins:
- Preheat your oven to 220°C (425°F), then butter four ramekins like you mean it—get into every corner. Dust them with cocoa powder, tap out the excess, and set them aside; this step is what lets the cakes slide out cleanly later.
- Melt the Chocolate and Butter:
- Set a heatproof bowl over a pan of simmering water, add the chocolate and butter, and stir until they melt into a glossy pool. Remove from heat and let it cool slightly so it doesn't scramble the eggs later.
- Whisk the Eggs and Sugar:
- In a separate bowl, whisk the eggs, egg yolks, and sugar for 2 to 3 minutes until the mixture is pale, thick, and falls in ribbons from the whisk. This aeration is what gives the cakes their lightness.
- Add Espresso and Vanilla:
- Stir the espresso powder and vanilla into the chocolate mixture until dissolved. The espresso should disappear completely, just leaving behind a deeper, more complex chocolate flavor.
- Combine Chocolate and Eggs:
- Gently fold the chocolate mixture into the egg mixture using a spatula, working in broad, sweeping motions. Don't stir aggressively or you'll deflate all the air you just whisked in.
- Fold in Flour and Salt:
- Sift the flour and salt over the batter, then fold gently until just combined—a few small streaks of flour are fine. Overmixing turns the cakes tough and cakey instead of molten.
- Fill and Bake:
- Divide the batter evenly among the ramekins, place them on a baking sheet, and bake for 11 to 13 minutes. The edges should look set and slightly pulled away, but the centers should still jiggle when you gently shake the pan.
- Invert and Serve:
- Let the cakes rest for 1 minute, then run a knife around the edges and invert each one onto a plate. Serve immediately while the centers are still molten and glossy.
 Save to Pinterest
 One evening, I served these to a friend who said she didn't like chocolate desserts. She took a polite bite, then another, then scraped her plate clean and asked for the recipe. I realized then that these cakes aren't just about chocolate—they're about texture, warmth, and that brief moment when you break through the crust and the center spills out. It's a small, edible surprise that makes people feel taken care of.
Timing and Make-Ahead Tips
You can prepare the batter up to four hours ahead, pour it into the greased ramekins, cover them with plastic wrap, and refrigerate. When you're ready to bake, let them sit on the counter for 15 to 20 minutes to take the chill off, then bake as directed. This trick has saved me more times than I can count when hosting, because you can have dessert ready to go and still enjoy your meal without rushing. Just remember that cold batter may need an extra minute in the oven, so keep an eye on the jiggle.
Serving Suggestions
These cakes are perfect on their own, but a scoop of vanilla ice cream melting into the warm chocolate is one of life's great pleasures. I've also served them with lightly sweetened whipped cream, fresh raspberries, or a dusting of powdered sugar. Once, I drizzled a little salted caramel over the top, and it was almost too good—rich, a little salty, and completely over the top in the best way. Keep it simple or dress it up; the cakes can handle either.
Flavor Variations
If you want a stronger coffee flavor, bump the espresso powder up to 1½ teaspoons, or stir in a tablespoon of coffee liqueur with the vanilla. I've also added a pinch of cinnamon or cayenne for warmth, and once folded in some finely chopped dark chocolate chunks for extra pockets of molten chocolate. You can even tuck a square of chocolate or a spoonful of Nutella into the center of each ramekin before baking for a surprise filling.
- Try orange zest in the batter for a subtle citrus note that brightens the chocolate.
- Swap the espresso powder for a teaspoon of peppermint extract during the holidays for a minty twist.
- For a boozy version, add a tablespoon of rum or Grand Marnier to the melted chocolate.
 Save to Pinterest
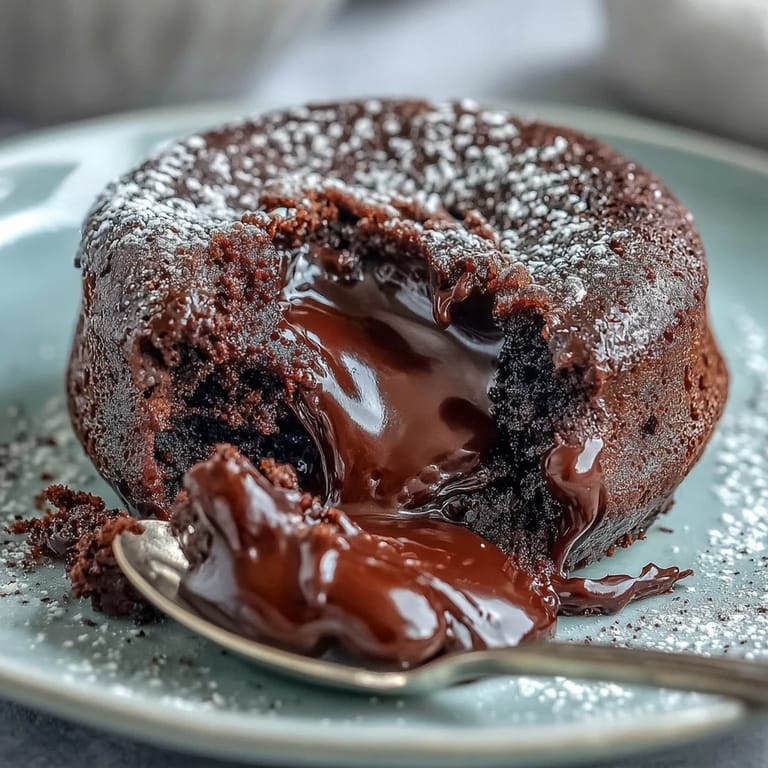
 These cakes have become my go-to when I want to impress without the stress, and every time I pull them from the oven, I'm reminded that some of the best recipes come from a little bit of panic and a lot of chocolate. Serve them warm, watch the centers spill out, and enjoy the moment.
Recipe FAQs
- → How do I know when the lava cakes are done?
The edges should be set and firm while the centers remain soft to the touch. Bake for 11-13 minutes at 220°C (425°F). The cakes will jiggle slightly in the center when gently shaken.
- → Can I make the batter ahead of time?
Yes, prepare the batter and fill the ramekins, then refrigerate for up to 4 hours. Bring to room temperature for 20-30 minutes before baking, or add 1-2 minutes to the baking time if baking from cold.
- → What type of chocolate works best?
Use bittersweet or semisweet chocolate with 60-70% cocoa content for optimal flavor and texture. High-quality chocolate makes a noticeable difference in the final result.
- → Why add espresso powder to chocolate desserts?
Espresso powder enhances and deepens chocolate flavor without making the dessert taste like coffee. It adds complexity and richness to the overall taste profile.
- → What should I serve with these cakes?
Vanilla ice cream, whipped cream, or fresh berries complement the rich chocolate beautifully. A dusting of powdered sugar or cocoa powder also adds an elegant finishing touch.
- → Can I use different sized ramekins?
The 170 ml (6 oz) size is ideal for proper baking time and molten centers. Smaller ramekins may overbake, while larger ones might remain too liquid in the center. Adjust baking time by 1-2 minutes if necessary.