 Save to Pinterest
 My hands were sticky with chocolate, and I didn't care one bit. It was a rainy Saturday afternoon, and I'd promised myself I'd finally try making truffles instead of buying those expensive boxes. The ganache came together so easily that I kept lifting the spoon just to watch it fall in glossy ribbons. By the time I rolled the first few balls, I was already plotting who would get them as gifts. That batch disappeared faster than I expected, most of them eaten straight from the fridge by me.
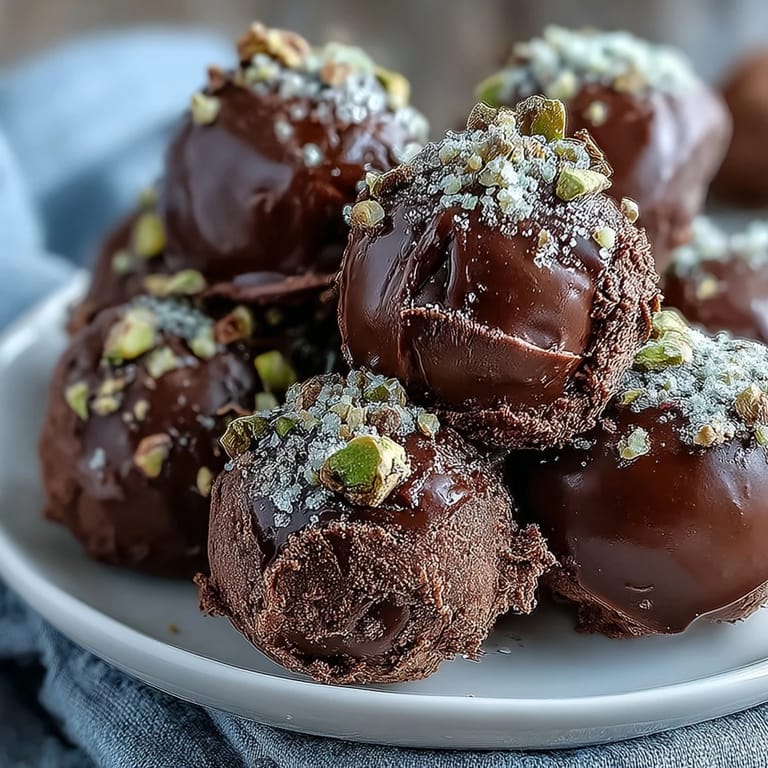
I made these for a friend's birthday once, rolled half in cocoa and half in crushed pistachios. She opened the tin, took one bite, and immediately asked if I'd started a side business. I laughed, but honestly, that moment made me realize how something so simple could feel like a true gift. The kitchen smelled like a chocolate shop for hours afterward. Even the next morning, I caught a faint whiff of vanilla and cocoa when I opened the fridge.
Ingredients
- 200 g good quality dark chocolate (60 to 70 percent cocoa), chopped: This is the heart of your truffles, so choose chocolate you'd actually enjoy eating on its own. I've learned that waxy or overly sweet chocolate makes truffles taste flat, while a good bar with some depth creates that melt in your mouth richness.
- 120 ml heavy cream: The cream brings everything together into a silky ganache. Heat it gently and watch for tiny bubbles around the edge, that's your cue to pull it off the heat before it boils over.
- 30 g unsalted butter, softened: Butter adds a luxurious sheen and makes the ganache even smoother. I leave mine on the counter while I chop the chocolate so it's ready to stir in without clumping.
- 1 tsp pure vanilla extract (optional): A little vanilla rounds out the chocolate flavor beautifully. You can skip it, but I never do.
- 3 tbsp unsweetened cocoa powder: The classic coating, and my personal favorite because it's not too sweet and has a slight bitterness that balances the rich ganache.
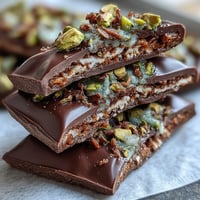
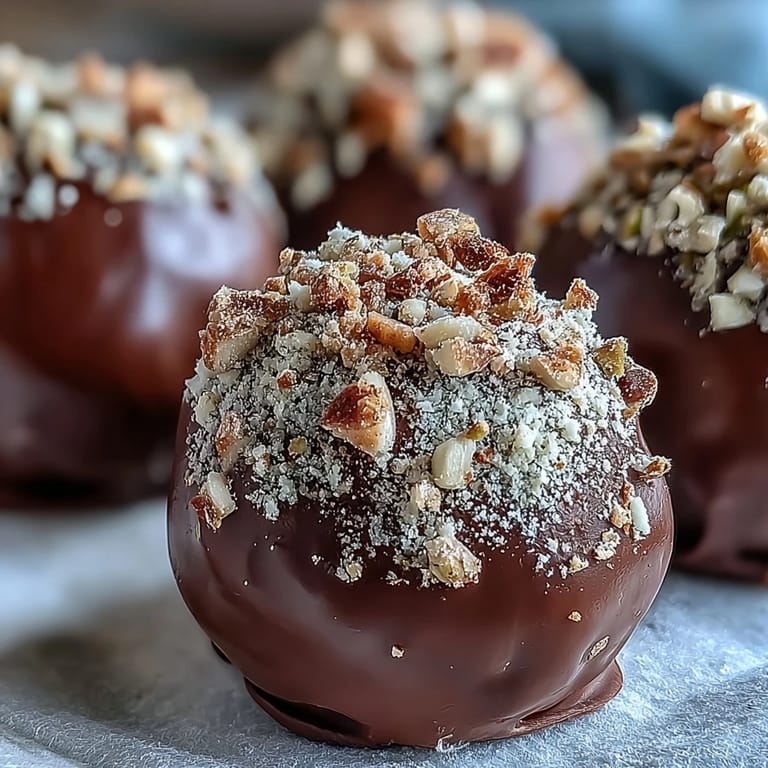
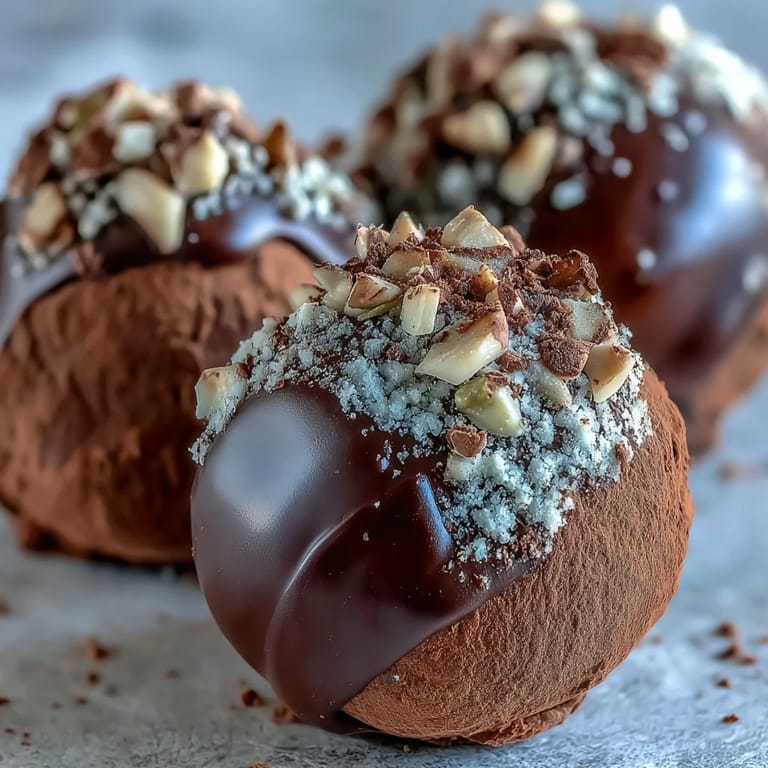
- 3 tbsp finely chopped toasted nuts (e.g., hazelnuts, pistachios, almonds): Toasting the nuts first is key, it brings out their oils and makes them fragrant and crunchy.
- 2 tbsp shredded coconut: I like to toast this lightly too for extra flavor, but it's lovely even straight from the bag.
- 2 tbsp powdered sugar: This coating is delicate and sweet, almost like snow dusted truffles, and it's the easiest one to work with if you're in a hurry.
Tired of Takeout? 🥡
Get 10 meals you can make faster than delivery arrives. Seriously.
One email. No spam. Unsubscribe anytime.
Instructions
- Prep the Chocolate:
- Place your chopped chocolate in a heatproof bowl, spreading it out a bit so the hot cream can reach every piece. I always use a bowl that's wider than it is tall because it makes stirring easier later on.
- Heat the Cream:
- Warm the heavy cream in a small saucepan over medium heat, watching carefully until you see the first tiny bubbles forming at the edges. Pull it off the heat immediately, you want it hot enough to melt the chocolate but not boiling, which can make the ganache grainy.
- Combine and Melt:
- Pour the hot cream directly over the chocolate and let it sit undisturbed for about 2 minutes. Then stir gently from the center outward until the mixture becomes smooth, glossy, and completely melted.
- Enrich the Ganache:
- Stir in the softened butter and vanilla extract until everything is fully incorporated and the ganache looks shiny and luxurious. This step makes all the difference in texture.
- Chill Until Firm:
- Cover the bowl with plastic wrap, pressing it directly onto the surface of the ganache to prevent a skin from forming, and refrigerate for at least 2 hours. You want it firm enough to scoop but not rock hard.
- Shape the Truffles:
- Line a baking sheet with parchment paper and use a melon baller or teaspoon to scoop small portions of ganache. Roll each portion quickly between your palms to form a ball, working fast so your body heat doesn't melt them too much.
- Coat and Finish:
- Roll each truffle in your choice of coatings, pressing gently so the coating sticks evenly. Place them back on the baking sheet and chill for another 30 minutes to firm up before serving.
 Save to Pinterest
 One evening, I set a plate of these truffles on the table after dinner without saying a word. My brother picked one up, bit into it, and closed his eyes for a second. He didn't say anything, just reached for another. That's when I knew I'd made something worth keeping in my regular rotation.
Flavor Variations to Try
Once you've made the basic version, it's hard not to start experimenting. I've stirred espresso powder into the warm cream for a mocha twist, and once I added a splash of orange liqueur that made the truffles taste like fancy chocolates from a boutique. You can infuse the cream with orange zest by letting it steep for a few minutes before straining it out. A pinch of sea salt mixed into the ganache is another favorite, it makes the chocolate flavor pop in the best way.
Storing and Serving
These truffles keep beautifully in an airtight container in the fridge for up to a week, though they rarely last that long in my house. I've learned to pull them out about 15 minutes before serving so they come to room temperature, that's when the texture is at its best, soft and creamy instead of firm and cold. If you're gifting them, layer them in a small tin with parchment paper between the layers. They travel well and always feel like a thoughtful, homemade treat.
Presentation Ideas
I like to mix coatings so a platter looks colorful and inviting, some dusted in cocoa, others rolled in nuts or coconut. You can even drizzle a few with melted white chocolate for contrast if you're feeling fancy. Once, I placed them in small paper cups and arranged them in a shallow box, and everyone assumed I'd bought them from a chocolatier.
- Use a mix of coatings to create visual variety and give guests options.
- Serve them on a small plate with a tiny fork or toothpick for easy grabbing.
- Pair them with coffee or a glass of port for an elegant finish to a meal.
 Save to Pinterest
 Making truffles has become one of those little rituals I look forward to, especially when I need something to do with my hands and my mind. They're proof that a few simple ingredients and a little patience can create something that feels generous and indulgent at the same time.
Recipe FAQs
- → What type of chocolate works best for truffles?
Use good-quality dark chocolate with 60-70% cocoa content for optimal flavor and texture. Higher quality chocolate melts smoothly and creates a more luxurious ganache.
- → Why are my truffles melting while I roll them?
Work quickly with cold hands, and if the ganache becomes too soft, return it to the refrigerator for 15-20 minutes. You can also dust your palms lightly with cocoa powder to reduce sticking.
- → Can I make chocolate truffles ahead of time?
Yes, truffles store beautifully in an airtight container in the refrigerator for up to one week. Bring them to room temperature 15-20 minutes before serving for the best creamy texture.
- → How can I customize the flavor of my truffles?
Infuse the cream with orange zest, espresso powder, or add a splash of liqueur like Grand Marnier or rum. You can also experiment with different coatings such as crushed cookies or freeze-dried fruit powder.
- → What's the secret to smooth ganache?
Let the hot cream sit on the chocolate for 2 minutes before stirring. This allows the chocolate to soften evenly. Then stir gently from the center outward to create a smooth, glossy emulsion without incorporating air bubbles.
- → Can I use milk chocolate instead of dark chocolate?
Yes, though you may need to reduce the cream slightly to 100ml as milk chocolate has a softer consistency. The truffles will be sweeter and may require longer chilling time to firm up properly.