 Save to Pinterest
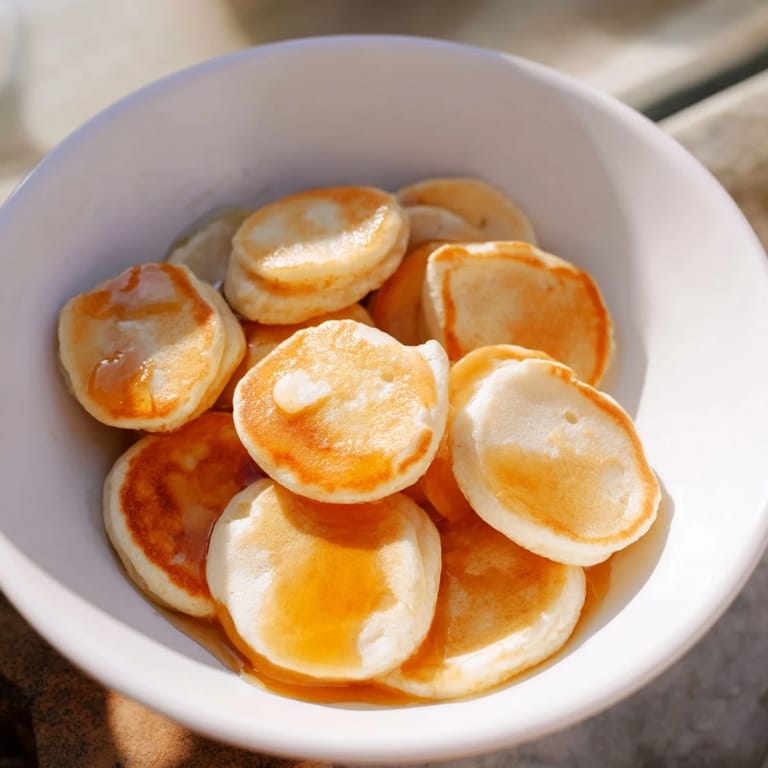
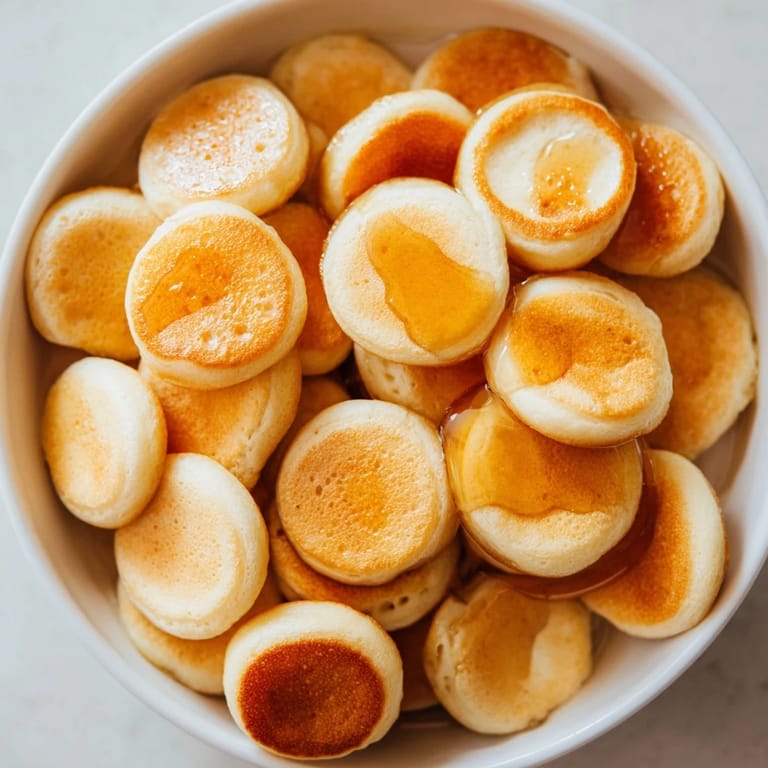
 My niece once declared that cereal was boring, and I found myself standing in the kitchen at 7 AM on a Saturday, determined to prove her wrong. That's when I invented fluffy pancake cereal—tiny, cloud-like pancakes poured into a bowl like you're serving breakfast's best-kept secret. She took one spoonful with cold milk cascading over those golden puffs, and suddenly I was a kitchen genius. It's become our ritual now, though honestly, I think I enjoy it more than she does at this point.
I made this for a group of friends who were skeptical about the concept, and watching their faces when they realized you're supposed to pour milk over warm pancakes was worth every tiny flip of the spatula. One of them actually said, 'This is what I didn't know I was missing,' and someone asked for the recipe before they'd even finished their bowl. That's the moment I knew this wasn't just a cute idea—it genuinely changes how people think about breakfast.
Ingredients
- All-purpose flour (1 cup): The foundation that gives you that tender crumb; sifting isn't necessary, but it does help avoid lumps if you're being precise.
- Granulated sugar (2 tbsp): Just enough sweetness to let the pancakes taste like themselves, not like dessert masquerading as breakfast.
- Baking powder and baking soda (1 tsp and 1/2 tsp): The secret to that ethereal fluffiness that makes these different from regular pancakes—the soda reacts with the buttermilk for lift.
- Salt (1/4 tsp): A tiny pinch that somehow makes everything taste more like itself.
- Buttermilk (3/4 cup): If you don't have it on hand, a splash of lemon juice in regular milk works perfectly and actually tastes just as good.
- Egg (1 large): Your binder and part of what keeps these pancakes tender rather than rubbery.
- Melted butter (2 tbsp): Let it cool slightly so it doesn't scramble the egg when you mix it together.
- Vanilla extract (1 tsp): The ingredient nobody talks about that somehow makes pancakes taste like home.
- Butter or oil for cooking: A light coating is all you need; these little pancakes brown quickly and don't need much fat to stay from sticking.
- Maple syrup and cold milk: The whole point—drizzle generously, pour cold milk like you mean it.
Tired of Takeout? 🥡
Get 10 meals you can make faster than delivery arrives. Seriously.
One email. No spam. Unsubscribe anytime.
Instructions
- Combine your dry base:
- Whisk together flour, sugar, baking powder, baking soda, and salt in a large bowl. You're creating a smooth, lump-free foundation that'll accept the wet ingredients without fighting back.
- Mix the wet team:
- In another bowl, whisk buttermilk, egg, melted butter, and vanilla until everything's incorporated and the color is uniform. This step matters because you want each component fully hydrated.
- Bring it together gently:
- Pour the wet mixture into the dry ingredients and whisk just until combined—we're talking about 10-15 gentle strokes, not a vigorous workout. Lumps are your friend; overmixing creates tough pancakes you don't want.
- Load your tool:
- Transfer the batter to a squeeze bottle, piping bag, or keep a teaspoon handy. The squeeze bottle gives you the most control and the most uniform pancakes, but honestly, a teaspoon works beautifully if that's what you've got.
- Heat your cooking surface:
- Get your nonstick skillet or griddle to medium heat and give it a light coat of butter or oil. You want it hot enough that a drop of batter sizzles immediately but not so hot that the bottoms brown before the tops set.
- Pipe or spoon your tiny circles:
- Squeeze out dots of batter about the size of a marble or slightly bigger—roughly 1/2 inch in diameter. Leave a little space between each one because they'll puff up slightly as they cook.
- Watch for the bubble signal:
- After 1-2 minutes, you'll see bubbles break through the surface and the edges will look slightly set and dull. This is your flip signal—don't rush it or they'll be gummy inside.
- Execute the flip:
- Use a spatula to flip each tiny pancake carefully and cook the other side for 30-60 seconds until it's golden brown. This second side cooks faster because the heat's already built up.
- Keep them warm and ready:
- Transfer finished pancakes to a plate and repeat with the remaining batter, giving your skillet a quick grease between batches if they start to stick.
- Assemble and serve:
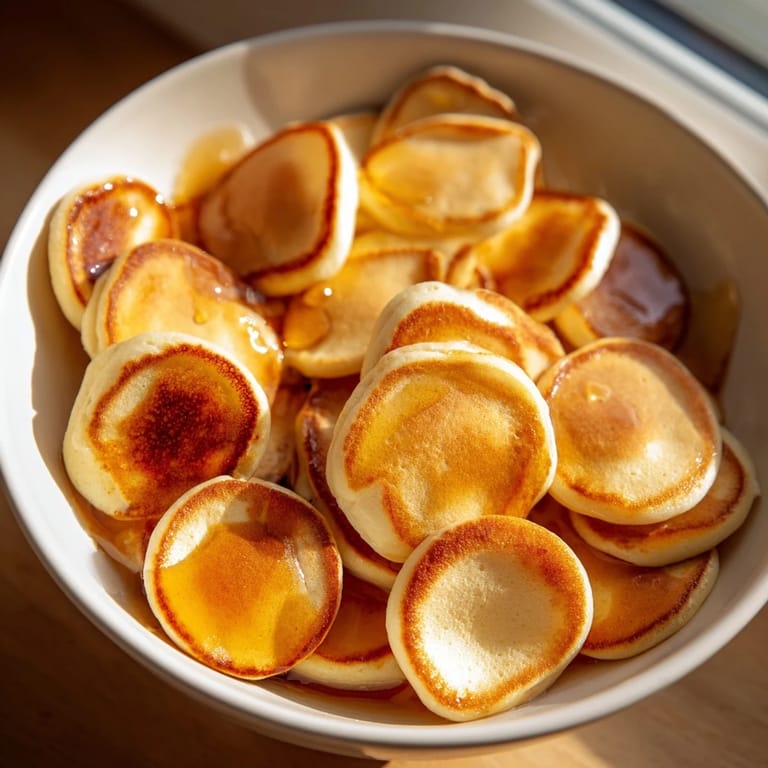
- Pour your mini pancakes into bowls, drizzle generously with maple syrup, then pour cold milk over them like you're pouring milk over cereal. The warm pancakes and cold milk create this perfect temperature contrast that somehow makes everything taste better.
 Save to Pinterest
 There's something almost meditative about standing at the stove, squeezing out dozens of little pancakes, watching them puff up, then flipping them one by one. It's repetitive in the best way, the kind of task that lets your mind wander while your hands stay busy. By the time the last batch is done, you've created something that feels like a small miracle.
The Milk-to-Pancake Ratio Matters
I spent an embarrassing amount of time figuring out the perfect amount of milk to pour, and I learned that less is more at first. Start with maybe a splash of cold milk over the bowl, let the pancakes get slightly softened, then taste before adding more. If you drown them immediately, they'll get mushy instead of maintaining that perfect texture where they're soft but still distinct. The milk should make the bowl creamy, not turn it into pancake soup.
Flavor Variations That Actually Work
The base recipe is perfect as-is, but the beauty of this dish is how easy it is to riff on. I've added everything from a handful of mini chocolate chips stirred into the batter to blueberries that burst as they cook, creating little pockets of fruit flavor. One time I experimented with almond extract instead of vanilla, which sounds weird but absolutely shouldn't be slept on. The pancakes are neutral enough that they're a canvas for whatever direction your breakfast mood is pointing.
Make-Ahead Tips and Storage
The batter actually keeps in the fridge for a couple of days, which means you can make this on a random Tuesday without planning ahead if you prepped on Sunday. I've also made the pancakes ahead and reheated them in a low oven before serving, which works better than you'd expect—they fluff back up a little when warmed gently. Store them in an airtight container and don't stack them directly on each other; use a piece of parchment paper between layers so they stay fluffy instead of compressing into a block.
- Batter keeps three days in the fridge if stored in an airtight container.
- Cooked pancakes can be frozen and popped into the toaster oven when you want them.
- Pour the milk right before eating to keep that textural contrast you're aiming for.
 Save to Pinterest
 This recipe has genuinely become the thing I reach for when I want to make someone's day a little brighter, or when I need breakfast to feel like something special. It's simple enough that you'll make it again and again, but unexpected enough that it never feels routine.
Recipe FAQs
- → What makes these pancakes fluffy?
The combination of baking powder, baking soda, and buttermilk creates a light and airy texture for these mini pancakes.
- → How do you make uniform mini pancakes?
Using a squeeze bottle or piping bag helps to control batter size for evenly shaped mini pancakes.
- → Can I add flavors to the batter?
Yes, incorporate mini chocolate chips or fresh blueberries for added taste and texture.
- → What substitutes work for a dairy-free version?
Replace buttermilk with plant-based milk plus lemon juice, and use dairy-free butter or oil for cooking.
- → How should these be served for best experience?
Serve the mini pancakes in bowls, drizzled with maple syrup and topped with cold milk, mimicking the enjoyment of cereal.