 Save to Pinterest
 My neighbor Amira taught me the real way to make falafel one afternoon when I stopped by her kitchen to borrow za'atar and stayed for three hours instead. She pulled out a bag of dried chickpeas she'd been saving and explained, without a hint of ceremony, that this is how her family had always done it—no canned chickpeas, no shortcuts. The moment those golden balls hit the hot oil and filled her small kitchen with that unmistakable green-herb-and-spice perfume, I understood why she'd been so particular about the method.
I made these for a potluck once and watched people actually stop mid-conversation to eat another one. A quiet moment, really—no one was trying to be polite, they were just genuinely reaching for seconds and thirds. That's when I realized these weren't just a side dish; they were the kind of food that makes people linger at the table.
Ingredients
- Dried chickpeas (1 cup): Soaking them overnight is non-negotiable if you want the right texture—canned ones will turn to mush and won't bind properly, even though everyone will try to convince you otherwise.
- Fresh parsley and cilantro (1 cup and 1/2 cup): Buy them fresh and pack them in gently; these herbs are what separate memorable falafel from forgettable ones, so don't skip them or substitute dried.
- Yellow onion (1 small, roughly chopped): The onion breaks down as it's processed and adds sweetness that balances the earthiness of the chickpeas.
- Garlic (3 cloves): Peeled but whole—the food processor will do the mincing for you, and you'll get a more even distribution.
- Ground cumin and coriander (2 tsp and 1 tsp): Toast them briefly in a dry pan before adding if you have time; it wakes up the flavors and makes your whole kitchen smell warm and inviting.
- Cayenne pepper (1/2 tsp, optional): Start with less and taste your mixture before forming—heat builds as the oil cooks the falafel.
- Baking powder (1 tsp): This creates the light, airy crumb inside and is absolutely essential, not optional.
- Salt and black pepper (1 tsp and 1/2 tsp): Taste the raw mixture and adjust; it should taste almost aggressively seasoned since the oil will round things out.
- All-purpose flour (3 tbsp): Use chickpea flour if you're avoiding gluten—it actually adds a subtle depth of flavor that wheat flour doesn't.
- Vegetable oil (for frying): You need enough to submerge the balls completely, and it needs to stay steady at 350°F or the outside will brown before the inside cooks through.
Tired of Takeout? 🥡
Get 10 meals you can make faster than delivery arrives. Seriously.
One email. No spam. Unsubscribe anytime.
Instructions
- Soak the chickpeas overnight:
- Rinse them under cold water, place in a large bowl, and cover generously with cold water—they'll nearly double in size as they absorb moisture. This overnight rest is what makes them tender enough to hold together without turning into paste.
- Pulse everything into a coarse mixture:
- Combine the drained chickpeas, onion, garlic, parsley, and cilantro in your food processor and pulse until it looks like damp sand that holds together when you squeeze it. This takes restraint—don't over-process or you'll end up with a paste that won't hold its shape.
- Add spices and flour carefully:
- Sprinkle in the cumin, coriander, cayenne, baking powder, salt, pepper, and flour, then pulse just until combined. Scrape the bowl down with a spatula and do a final mix by hand to make sure everything is evenly distributed.
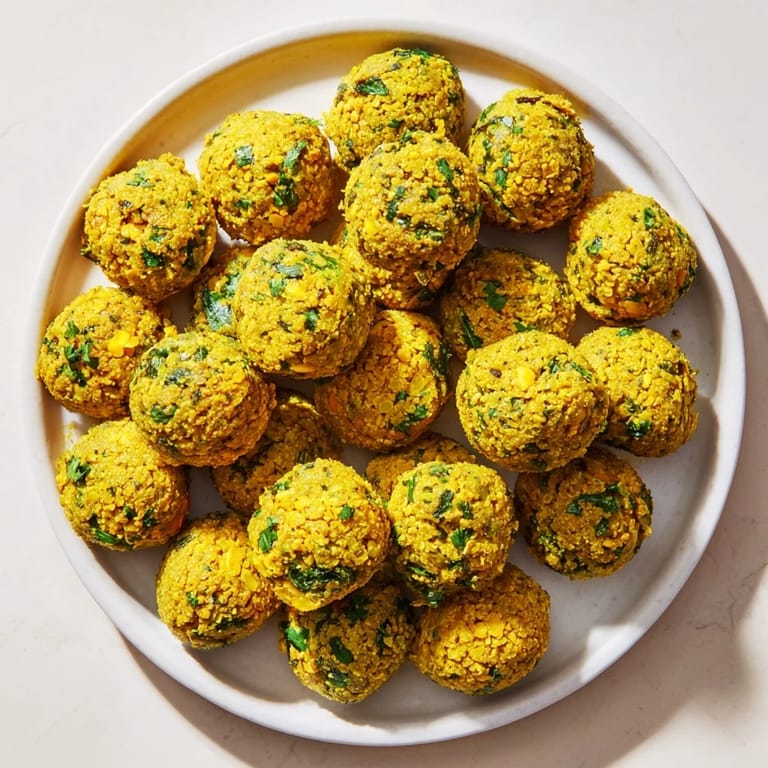
- Form the balls with damp hands:
- Dampen your hands slightly and gently squeeze the mixture into small balls, about 1½ inches across—they should hold together firmly but not feel dense. If the mixture seems too loose, sprinkle in a bit more flour and mix gently.
- Heat your oil to the right temperature:
- Pour 2 inches of vegetable oil into a deep pot and use a thermometer to bring it to 350°F. If it's too hot, the outside will burn; too cool, and they'll absorb oil and taste heavy.
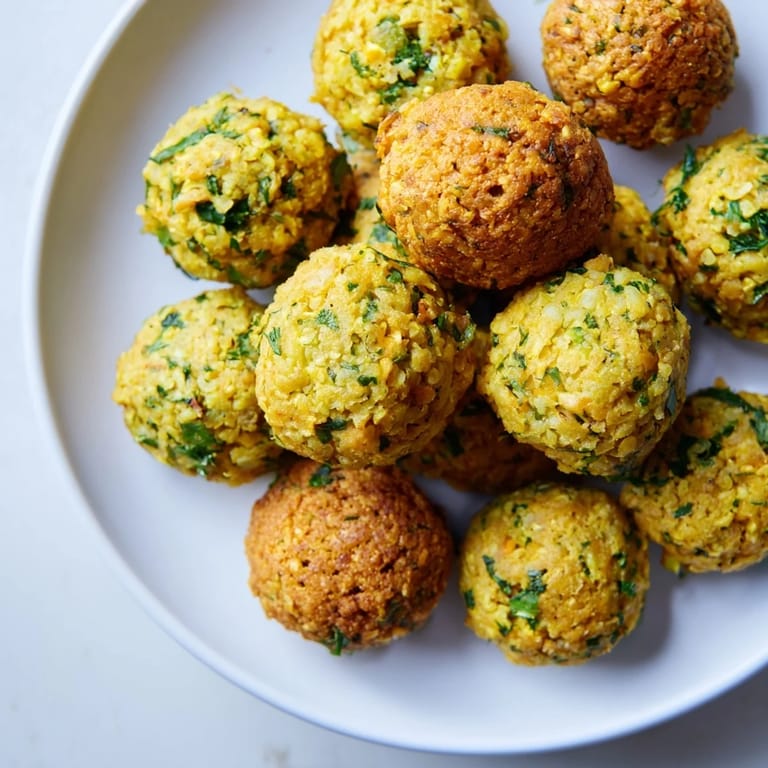
- Fry until deep golden:
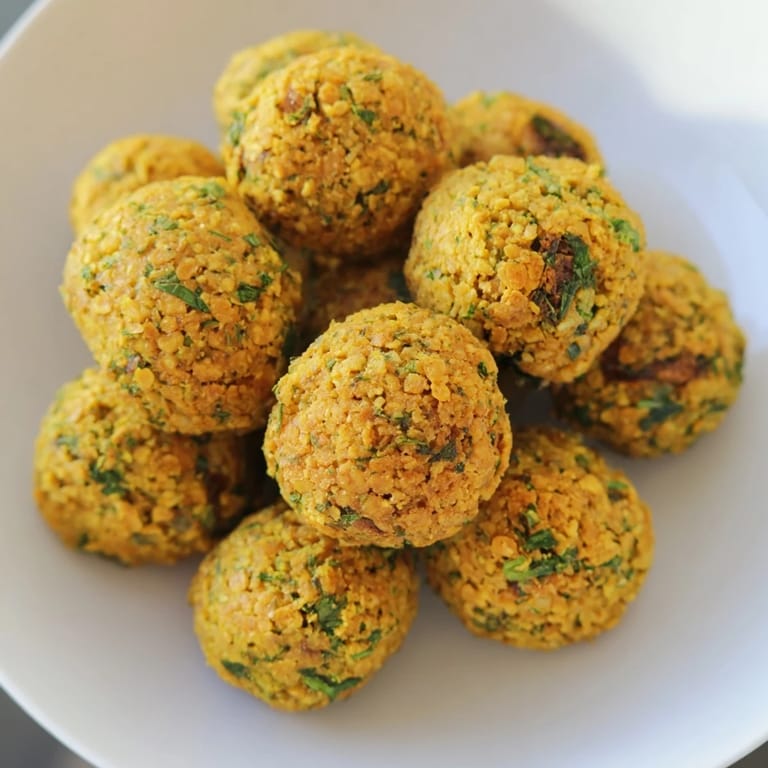
- Working in batches so you don't crowd the pot, carefully lower the balls into the hot oil and let them fry for 3 to 4 minutes, turning them once halfway through. They're done when they're a deep mahogany brown and sound hollow when you tap them.
- Drain and serve while warm:
- Transfer them to paper towels to drain the excess oil, and serve them while they're still steaming, ideally with warm pita bread, tahini sauce, and whatever salad and pickles you have on hand.
 Save to Pinterest
 There's a moment right when the falafel hits the oil when you know you've done something right—that immediate sizzle and slight float to the surface is when the magic starts happening. It's a small thing, but catching that moment makes you feel connected to everyone who's ever made this dish in a kitchen without fancy equipment, just attention and care.
Serving Suggestions and Flavor Pairings
These taste best tucked into warm pita with creamy tahini sauce, crisp lettuce, and thin slices of tomato and cucumber. Some people add hummus, some add tabbouleh, and some—like my cousin—insist on a drizzle of hot sauce mixed with yogurt. The falafel is sturdy enough to hold its own alongside whatever mezze components you can gather, and it honestly tastes just as good eaten plain while standing at the kitchen counter, still warm from the oil.
Baking Option and Dietary Flexibility
If deep frying feels like too much commitment, you can brush the formed balls lightly with oil and bake them at 400°F for 20 to 25 minutes, turning them halfway through—they won't be quite as creamy inside, but they'll still be delicious and significantly less messy. For a gluten-free version, swap the all-purpose flour for chickpea flour, which actually adds a more complex flavor anyway. These are vegan as written, naturally dairy-free, and adaptable enough that you can substitute fresh mint for some of the cilantro if that's what you prefer.
Flavor Customizations and Storage
If you want to play with the base recipe, adding 1/2 teaspoon of ground cardamom or sumac creates subtle warmth without overwhelming the green herbs. Leftover falafel keeps in an airtight container in the fridge for up to 3 days and can be reheated gently in a 350°F oven, though they're honestly best eaten the same day you fry them.
- Store cooled falafel in an airtight container and reheat them gently in a low oven to restore crispness rather than microwaving, which makes them rubbery.
- You can form and refrigerate the raw mixture up to 12 hours ahead, which makes entertaining much easier since all that's left is the frying.
- If you're making these for a crowd, fry them just before serving and keep finished batches warm in a low oven while you work through the rest of the mixture.
 Save to Pinterest
 Making falafel is one of those quiet cooking victories that nobody has to understand but you—the moment you pull a perfectly golden ball from the oil and bite into it while it's still steaming. Once you've made them yourself even once, the frozen versions at the grocery store will feel like a completely different food.
Recipe FAQs
- → What is the best way to soak chickpeas?
Soak dried chickpeas in cold water overnight (8–12 hours) to soften them for blending and improve texture.
- → Can falafel balls be baked instead of fried?
Yes, brush the balls with oil and bake at 400°F (200°C) for 20–25 minutes, turning halfway for even cooking.
- → Which herbs enhance the flavor of chickpea fritters?
Fresh parsley and cilantro add brightness and depth, complementing traditional spices like cumin and coriander.
- → How do I achieve a crispy exterior on falafel?
Deep-frying in hot oil at 350°F (175°C) for 3–4 minutes ensures a crisp, golden brown crust while keeping the inside tender.
- → Are there gluten-free options when preparing this dish?
Substitute all-purpose flour with chickpea flour for a gluten-free alternative without compromising texture.