 Save to Pinterest
 I discovered these bars by accident on a Tuesday morning when I'd forgotten to meal prep snacks and had nothing but bananas going soft on the counter. My daughter needed something for her backpack, so I threw together what I had—peanut butter, oats, honey—and pressed it into a pan. An hour later, after chilling, I cut into it and realized I'd stumbled onto something that tastes like a dessert but feels like actual nutrition. Now these are the first thing I make when life gets chaotic.
I made a double batch for my son's soccer tournament last spring, wrapping each bar individually in foil like tiny presents. Another parent tried one and asked for the recipe right there on the bleachers—that's when I knew I'd created something special that people actually wanted to eat, not just tolerate.
Ingredients
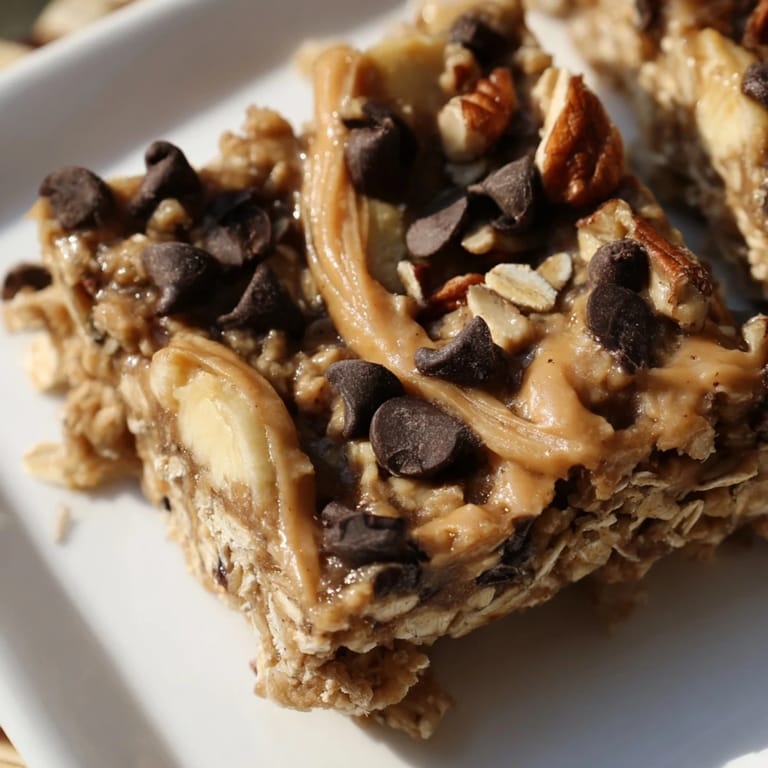
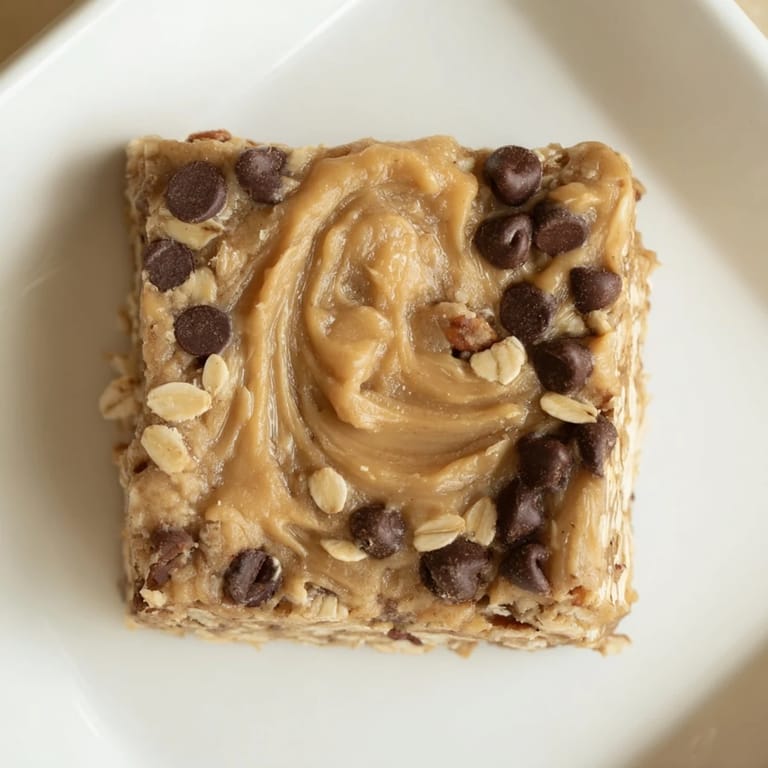
- Ripe bananas (2 large, mashed): Use ones with brown spots—they're sweeter and blend more easily into the mixture, creating that chewy texture that makes these bars addictive.
- Creamy peanut butter (1/2 cup): The backbone of flavor; skip the natural stuff if you want a smoother texture, though it works with either.
- Honey or maple syrup (1/4 cup): This sweetens and binds everything; honey gives a subtler taste while maple adds earthiness.
- Vanilla extract (1 tsp): A small dose that somehow makes peanut butter taste even more like itself.
- Old-fashioned rolled oats (2 cups): They give you that hearty chew; instant oats will make the bars mushy, so don't swap them.
- Chopped nuts (1/4 cup, optional): Walnuts or pecans add a pleasant crunch, and I like them for texture contrast.
- Mini chocolate chips (1/4 cup, optional): Because sometimes you want that little hit of chocolate without making it a dessert.
- Salt (1/4 tsp): It sounds tiny but it makes everything taste more like itself.
- Ground cinnamon (1/2 tsp): Warming and necessary; don't skip it thinking it won't matter.
Tired of Takeout? 🥡
Get 10 meals you can make faster than delivery arrives. Seriously.
One email. No spam. Unsubscribe anytime.
Instructions
- Set your stage:
- Line your 8x8-inch pan with parchment paper and leave some hanging over the edges—this is how you'll lift the whole thing out later without destroying it. Trust me on this small step.
- Mash the bananas:
- Use a fork or potato masher to break them down until mostly smooth; a few tiny lumps are fine and won't hurt anything. You're aiming for the texture of thick applesauce.
- Mix the wet base:
- Stir the peanut butter, honey, and vanilla into your mashed banana until everything looks uniform and creamy. This part takes less than a minute if you're patient.
- Combine everything:
- Add the oats, salt, cinnamon, and any optional add-ins, then stir until there are no dry pockets of oats hiding anywhere. The mixture should look thick and well-incorporated.
- Press into the pan:
- Transfer your mixture to the lined pan and use the back of a spoon or a spatula to press it down firmly and evenly. The more pressure you apply, the better the bars will hold together when you cut them.
- Chill and set:
- Refrigerate for at least an hour—I usually leave mine overnight because it makes cutting cleaner and easier. You'll know it's ready when it feels firm to the touch.
- Cut and store:
- Use the parchment overhang to lift everything out onto a cutting board, then slice into 12 bars with a sharp knife (wet the knife between cuts for cleaner edges). Keep them in an airtight container in the fridge for up to a week.
 Save to Pinterest
 Last month my partner grabbed one of these without asking while I was working, then texted me mid-meeting asking if I'd made more. It's become the kind of snack that disappears before I plan to eat it, which somehow feels like the highest compliment a recipe can get.
Customizing Your Bars
These bars are forgiving in the best way—if you have dried cranberries instead of chocolate chips, use them. If you prefer almond butter because that's what's in your cupboard, that works too. I've made them with sunflower seed butter for a friend with allergies, and honestly, they might have been even better.
Storage and Transport
The parchment paper method isn't just for easy removal; it's also perfect for wrapping individual bars if you're packing them somewhere. I've sent these in lunch boxes, road trips, and even to work potlucks, and they hold up beautifully. Just keep them cool and they'll be exactly as you left them.
Why This Works as an Energy Snack
There's something satisfying about reaching for something wholesome that actually tastes good and keeps you full. The oats provide substance, the peanut butter delivers protein, and the banana adds natural sweetness without any weird aftertaste. You get that immediate energy boost from the honey, but it sustains because of everything else in there working together. These aren't the kind of snack you eat and regret ten minutes later.
- Wrap individual bars in parchment for grab-and-go mornings when your brain isn't working yet.
- These freeze beautifully if you need to make a huge batch and save them for later.
- If they soften too much during the week, pop one in the freezer for a few minutes before eating for a better texture.
 Save to Pinterest
 These bars have quietly become the snack I reach for when I need something that feels like a small kindness to myself. They're easy enough to make on a whim but satisfying enough to feel intentional.
Recipe FAQs
- → Can I substitute peanut butter for another nut butter?
Yes, almond or sunflower seed butter can be used for a different flavor or to accommodate allergies.
- → How long should the bars chill before cutting?
Refrigerate the mixture for at least 1 hour to allow firming before slicing into bars.
- → Are these bars suitable for vegans?
Using maple syrup instead of honey and dairy-free chocolate chips makes this suitable for vegan diets.
- → Can I add dried fruits to the bars?
Yes, cranberries or raisins add extra flavor and texture when mixed in with the oats and nuts.
- → How should I store the bars to keep them fresh?
Store bars in an airtight container in the fridge for up to one week for optimal freshness.